As of now, I’ve only been playing around with electronics on and off for a year. The amount of know how in this field is tremendous, but sometimes you find yourself struggling over the simplest of things – for example, cutting breadboard jumper wires to perfect length. After I hastly prototype something on the breadboard (using cheap, flexible, premade jumper wires) and decide to keep it there, the jumper wires I use must be flat and next to perfect. If the wires seem wavy, bumpy or somehow unaesthetic I become homicidal. Below is the method I use to aid my obsession.
I’ll describe the process by preparing a wire to bridge the breadboard power strips.
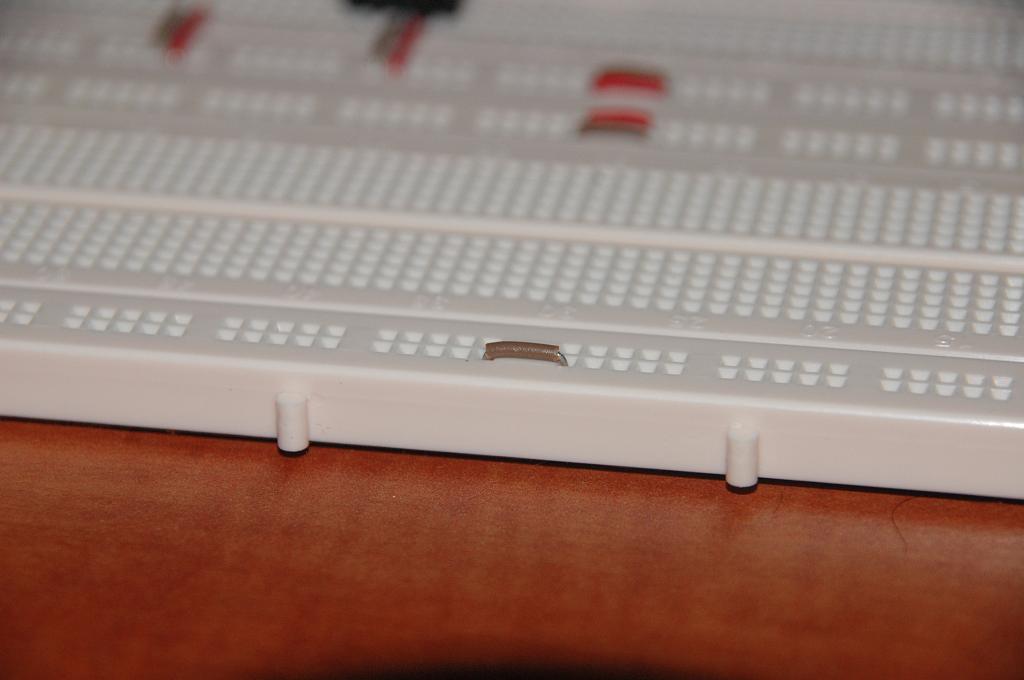
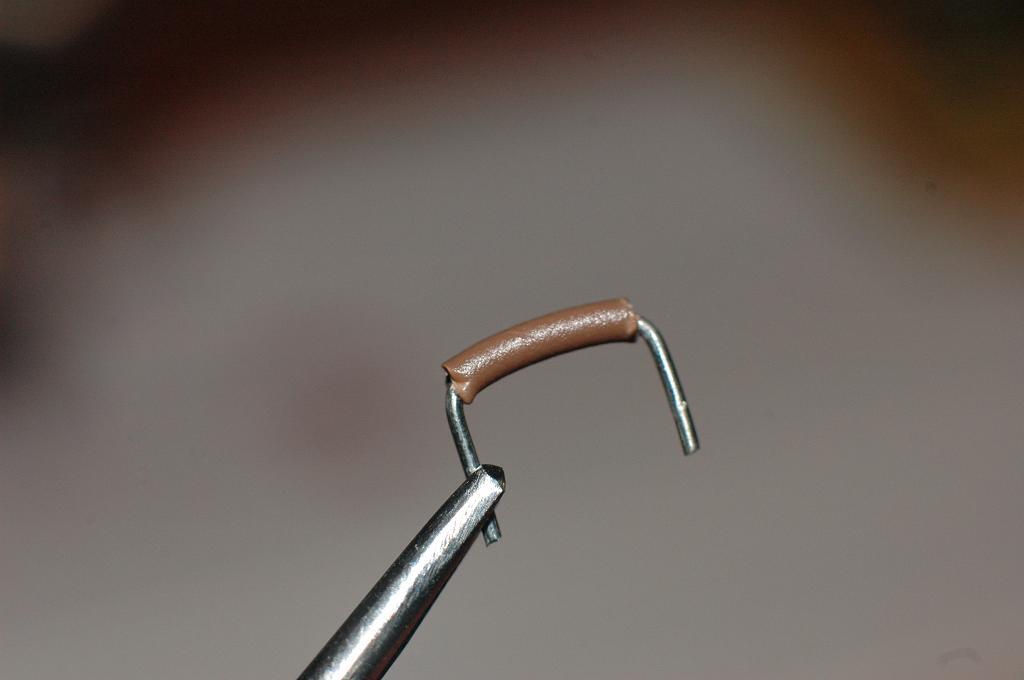
We’ll start by stripping the tip of the wire as we would normally do, and bending it 90 degrees. Make sure the bare part is not too long (should be approximately as pictured).

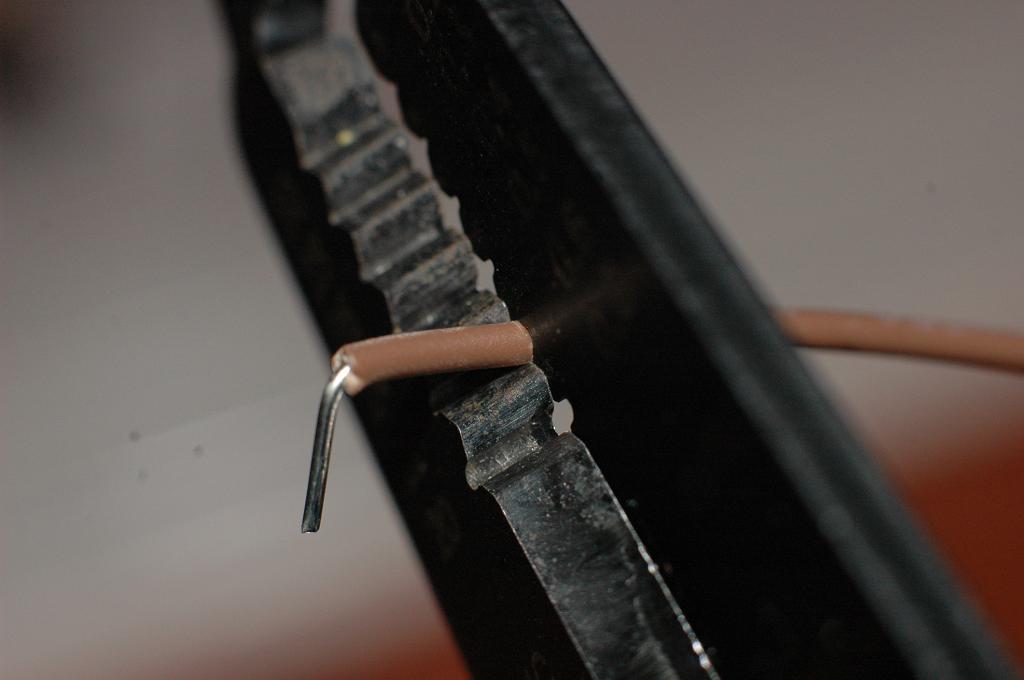
We insert the wire into the breadboard, at one of its intended points. We then press our nail firmly on the wire just above the place we want the wire to end. You should make sure the wire is as flat as possible at this point.
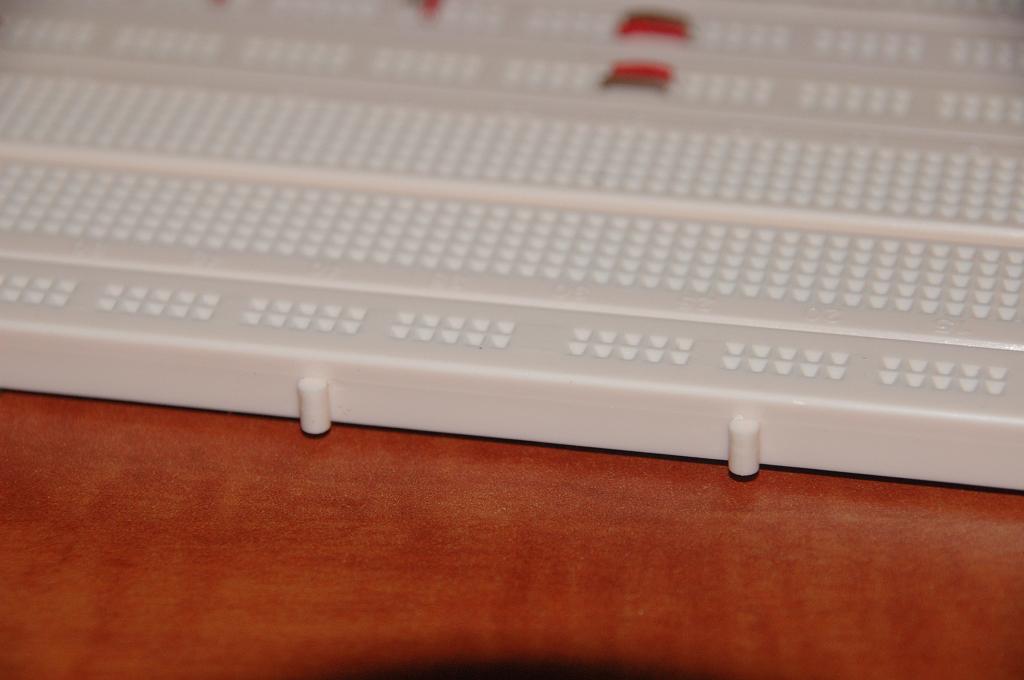
We can see that our nail left its mark as intended.
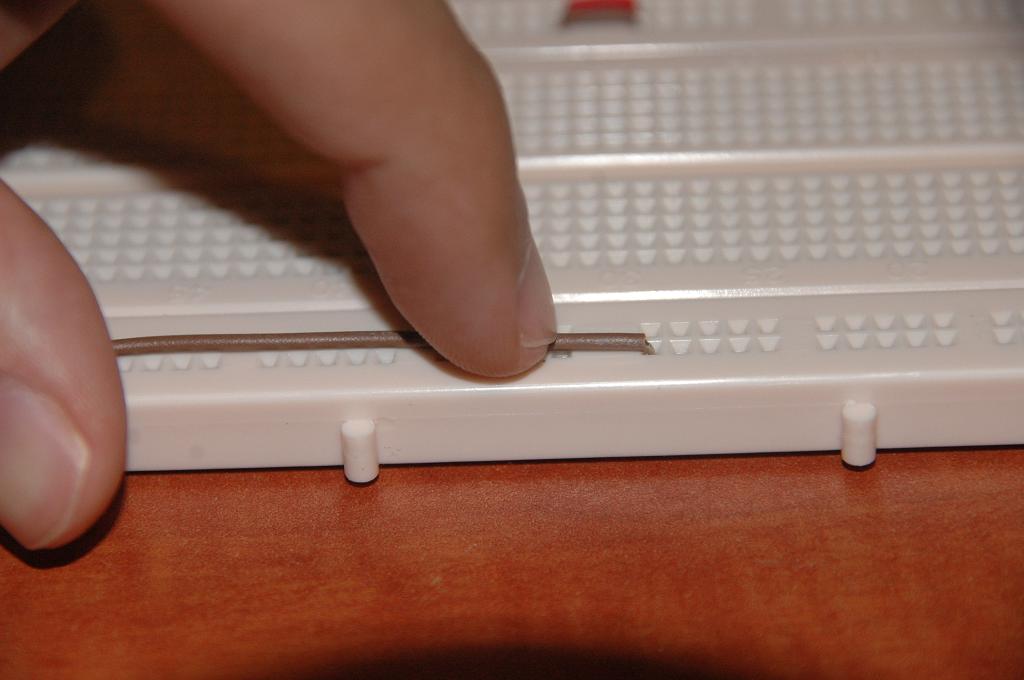
We then take our trusty wire stripper and strip exactly at the grove our nail left. It should be very easy to see and easy to align.
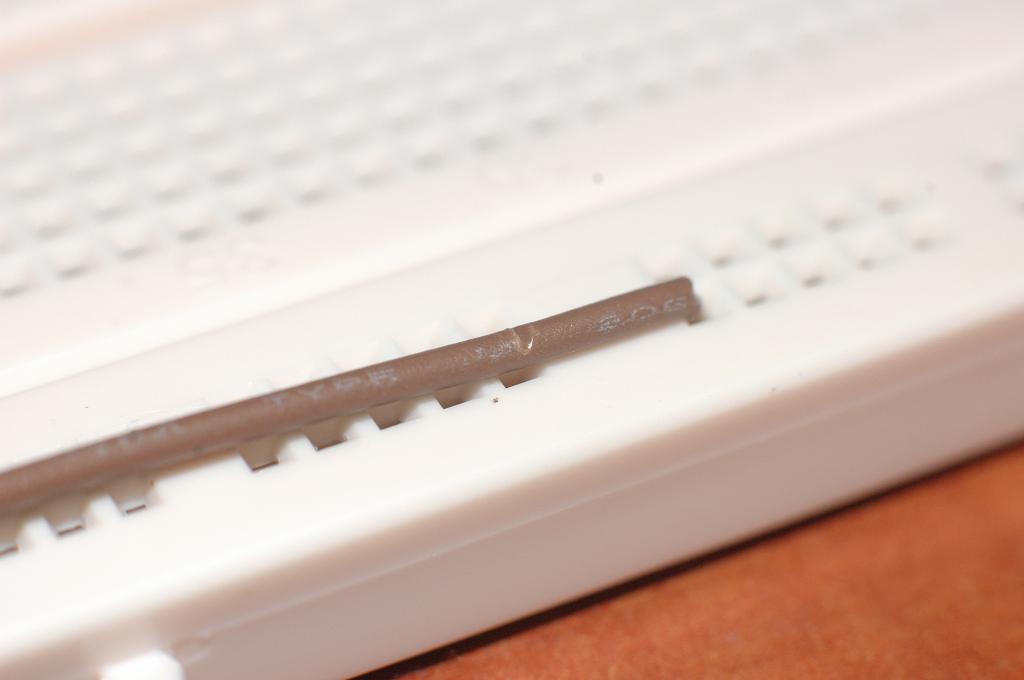
We now bend the second edge of the wire 90 degrees, just as we did to the first edge.
The wire should be the perfect length. Snugly shove it into the breadboard and repeat if necessary.